
CPP 64-67 Nova Stock Spindle Disc Brake Kit - Disc Install
This page describes the installation of Classic Performance Products' 64-67 stock spindle front disc brake conversion kit.
[WARNING/DISCLAIMER: use this information at your own risk, modifying automobile brake systems can lead to dangerous situations, always have a trained mechanic check your work, I take no responsibility for the results, you've been warned, you're on your own...]
Pictures from installing the new caliper brackets, hub/rotor and calipers
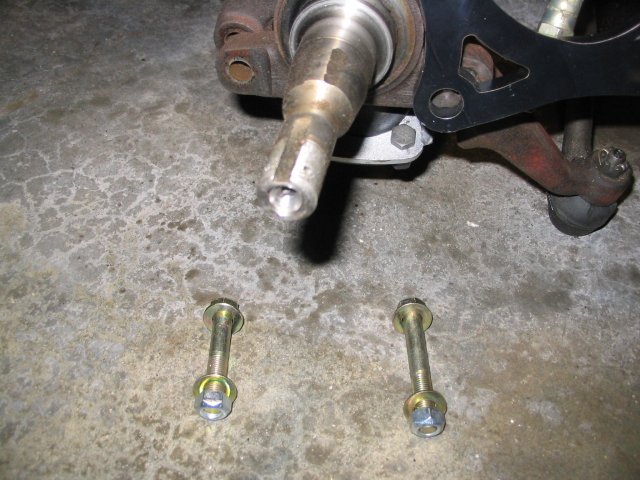
Two sets of hardware are included, not all stock setups use the same bolt dimensions.
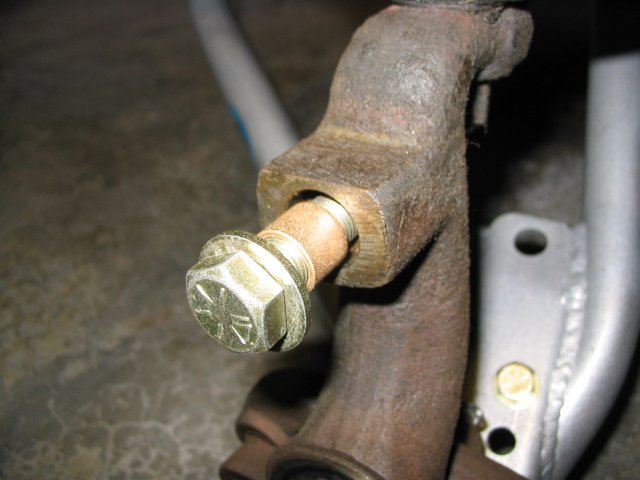
It's a good idea to run a tap through this hole before you start. On my car, one side went in like butter, the other side bound up pretty quick. A couple of passes with a tap, and that side went in smoothly too. My spindles were tapped for 1/2", so I used the 1/2" bolt and the bushing.
Large bolt installed
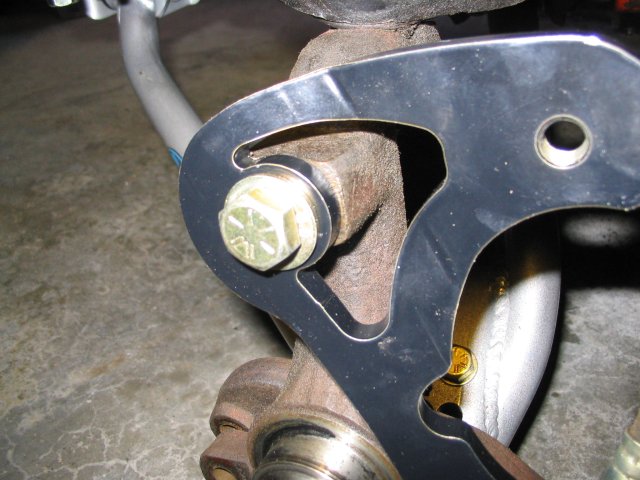
Two lower bolts. The shorter one goes on the front through the spindle and steering arm, the longer one is in the back and also goes through the caliper bracket.
CPP did not specify, but I torqued the caliper bolts to 60 lb-ft for the two smaller bolts, and 75 lb-ft for the single large bolt.
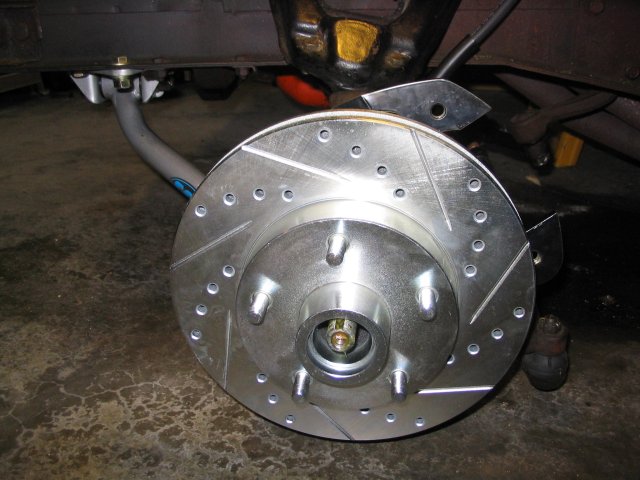
Hub hoisted into place for a test fit...
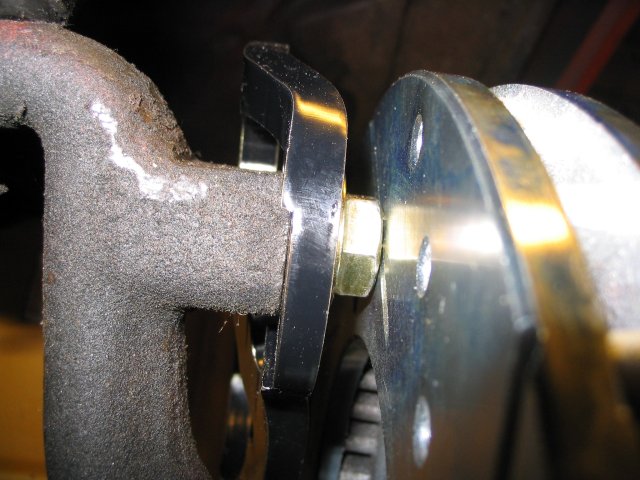
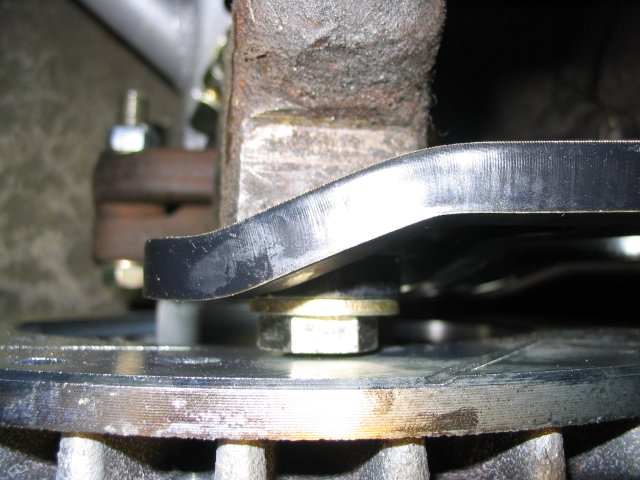
Interference! big bolt rubs on back of rotor.
After the head of the large bolt on the caliper bracket hit the rear of the rotor. I swapped the supplied washers for some thinner ones as a temporary measure.
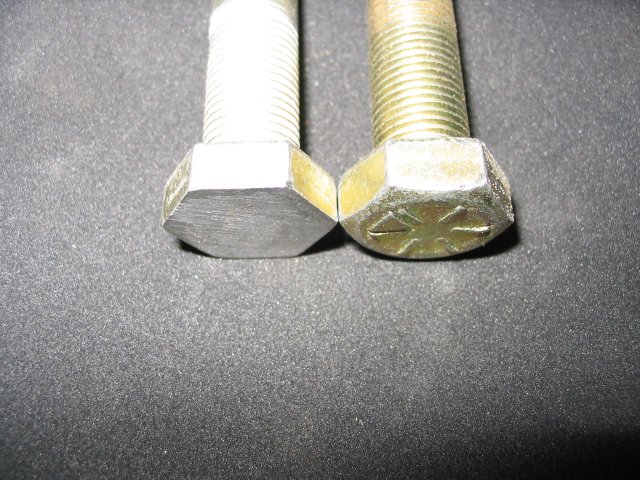
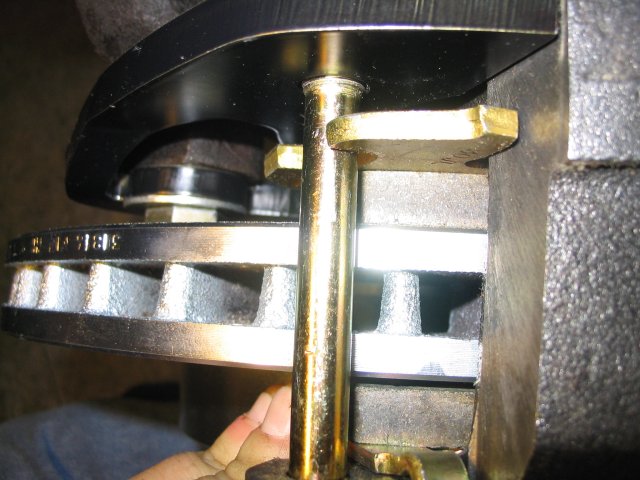
There are two sets of top bolts in the kit to fit different spindles. Some spindles are tapped for 5/8", others are 1/2". (Mine was the smaller 1/2" variety) The bolt heads on the supplied 1/2" bolts had the grade markings on them, and measured out at .325 thick. The 5/8" bolts have a smooth head and measure .295 thick. (The smooth heads make me think they may have been machined thinner than what they started at.)
I called CPP and they told me to grind the bolt head down instead. I took about .060" off of the bolt head (about even with the beveled edges), and now have about .050" clearance with the supplied washers.
I got a note from the CPP folks later, and as a result of the problems I had, they have corrected this problem in their kits.
"When we put this kit together our 1/2" washers were thinner, then we got some washers from a different supplier and they are thicker. We did not have an original drum spindle with the 1/2" anchor bolts, so we tried an aftermarket reproduction and everything cleared. So it seems that the reproduction spindle is slightly different. We are now machining the heads of both the 5/8" and 1/2" bolts to work with the thick washers and OE spindles. Sorry for the headaches."
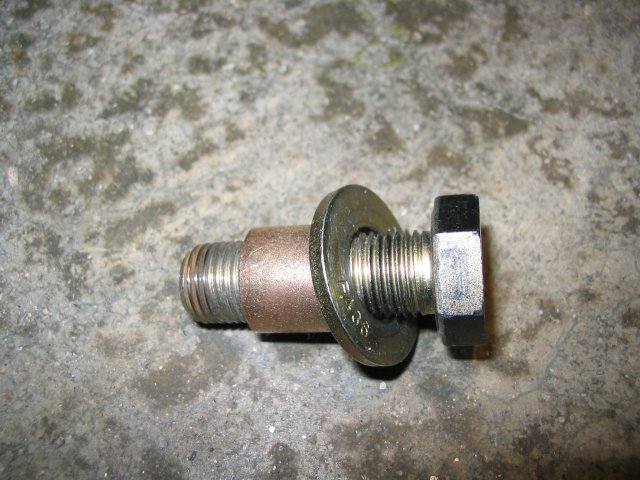
Bushing and washer on reworked bolt...with a splash of paint to keep the rust away.

Reworked bolt installed.
I now have about 0.050" clearance, which is plenty.
Installing the hub/rotor:
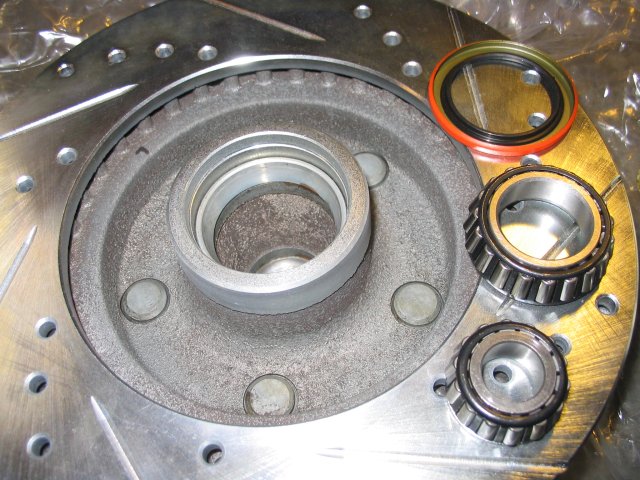
From top to bottom: inner bearing seal, inner bearing, outer bearing.
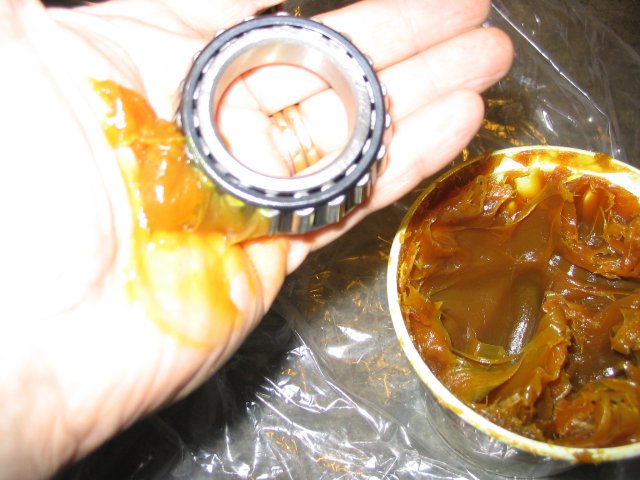
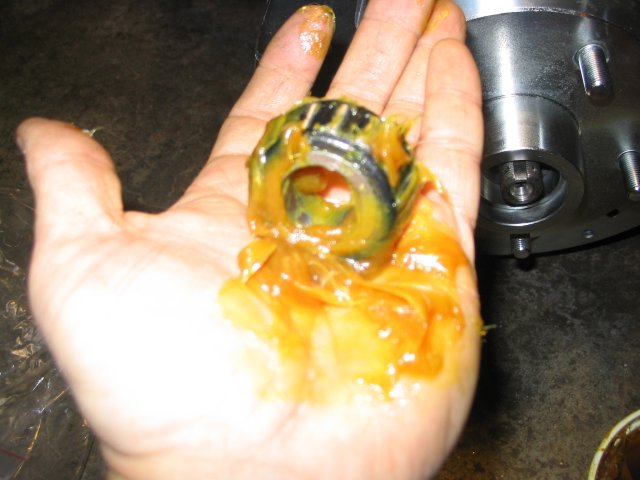
Time to get dirty...packing the inner bearing with wheel bearing grease.
inner bearing in place on hub, inner seal ready to install
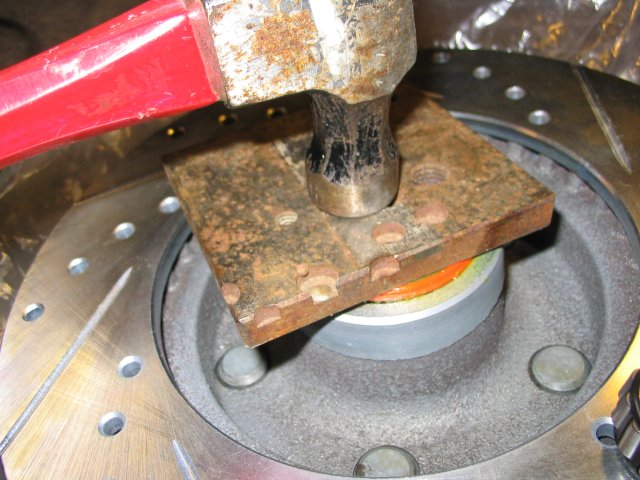
Tap the seal in evenly, I used a block of steel to distribute the force...
...then the seal goes in a bit below flush, I finished it off with a hammer and a big socket wrench.
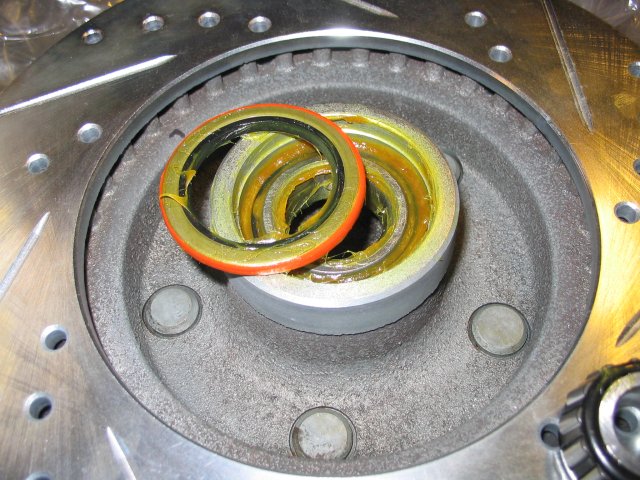
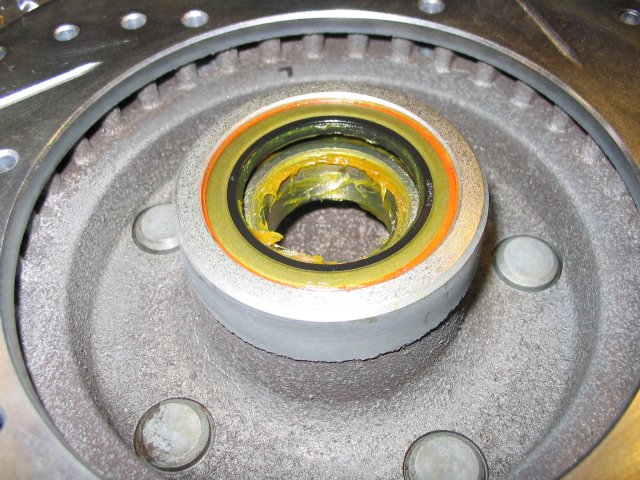
Finished inner bearing and seal, ready to go on the spindle.
Outer bearing being loaded up with wheel bearing grease
Outer bearing installed...
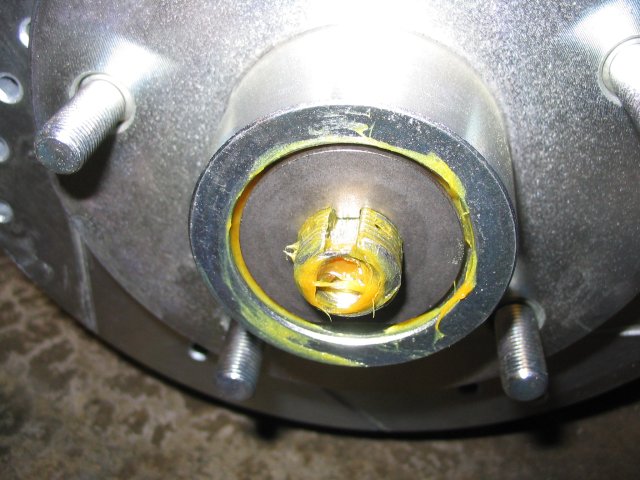
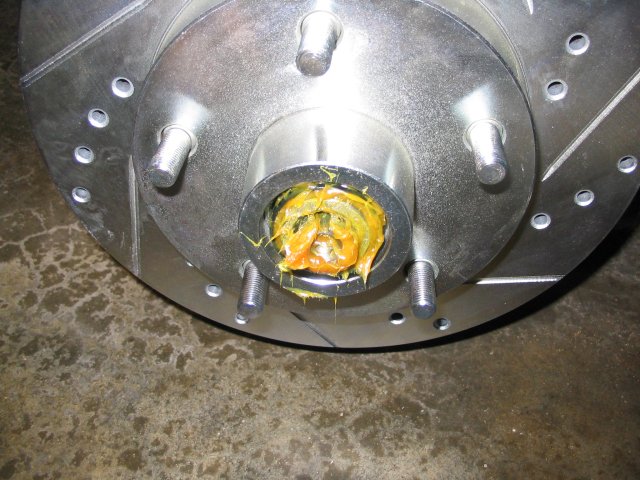
...washer...
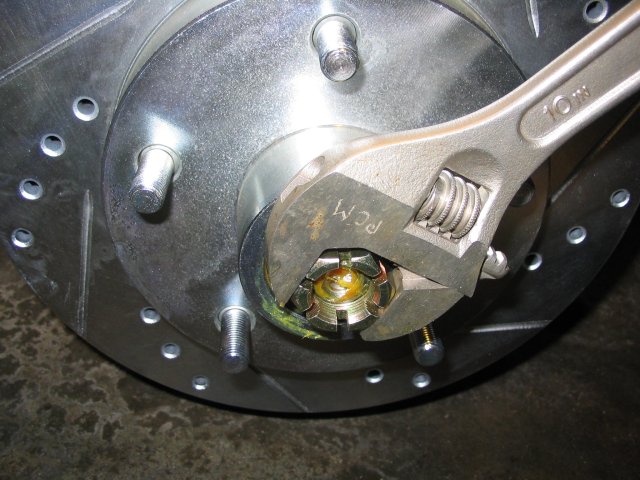
Bearing washer and spindle nut installed. (still need to be set to proper preload and have cotter pin installed) - Spindle nut preload - CPP has no info in the instructions. I did the procedure that the factory service manual says (tighten to some low lb-in setting, then back off to the nearest flat) and it seems OK
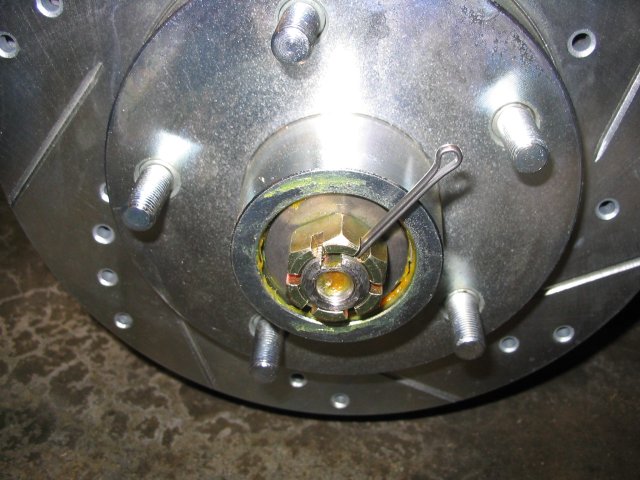
After the proper preload is set, put the cotter pin in, and bend the ends to keep it in place.
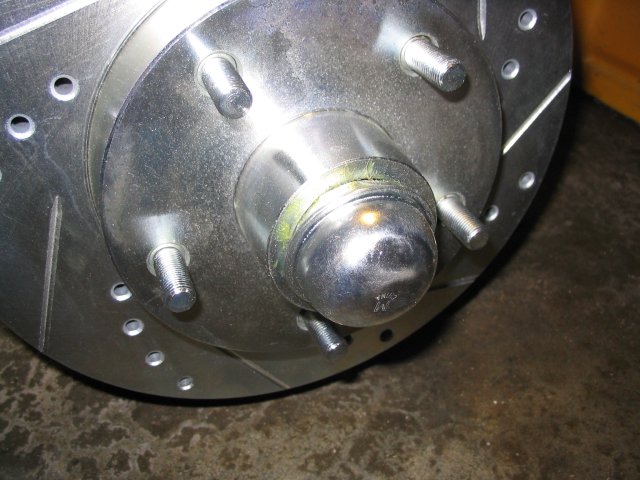
Then put on the dust cap.
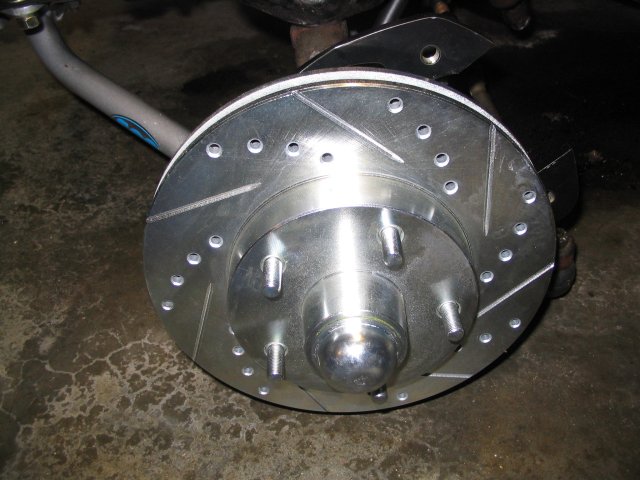
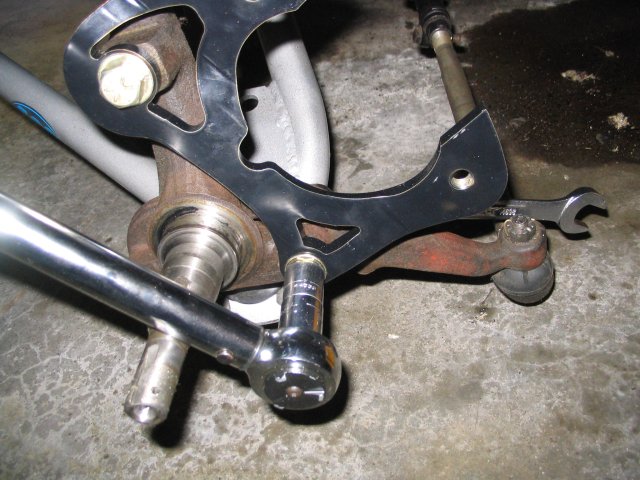
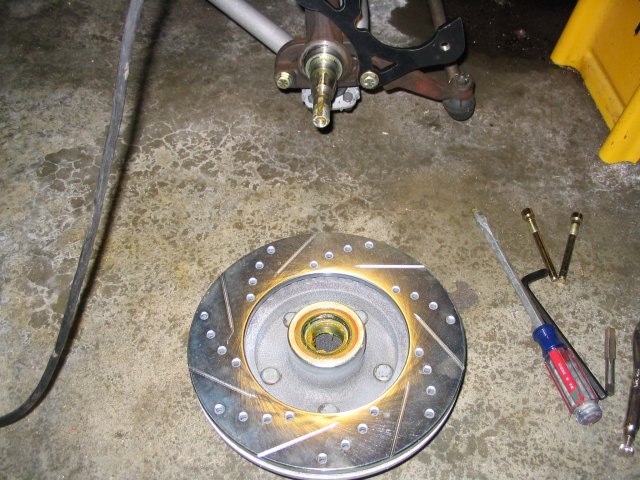
Hub/Rotor install complete! On to the caliper...
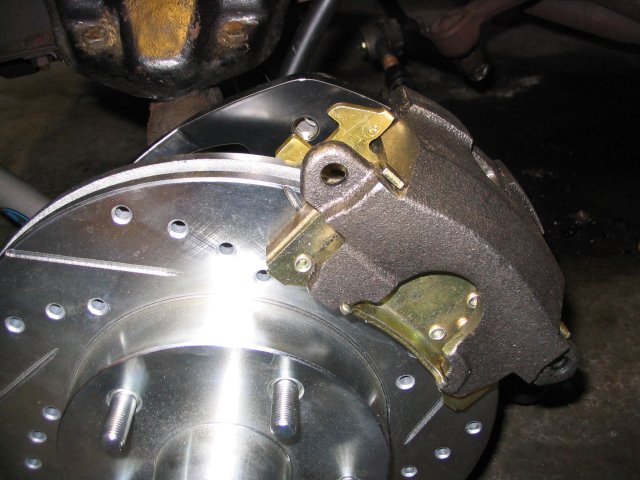
The caliper mounting pins just pull out of caliper as shipped, thread into caliper bracket.
NOTE: one of the pins on each caliper will have two copper washers on it. These washers are for attaching the flex hose. Remove them from the mounting pin and put them aside for later. You should not use any washers on the caliper mounting pins.
Make sure the brake pads are on either side of the rotor, slide the caliper towards the bracket...
...and thread the pins into the bracket and through the caliper.
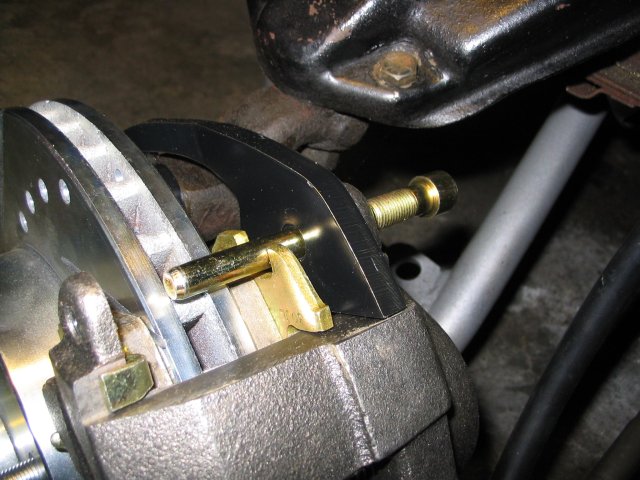
Tighten the caliper bolts with 3/8" allen wrench
All snugged up...pads on either side of rotor.

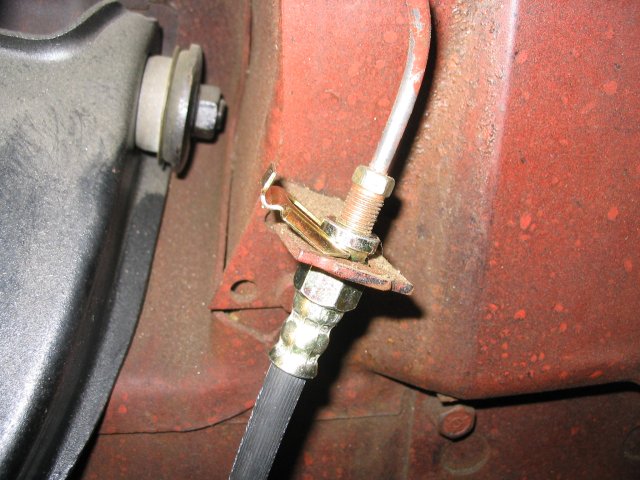
The copper washers that you put aside a few steps earlier go on either side of the banjo fitting on the flex hose. Make sure you put the bolt through in this direction (head on 'wide' side of fitting) as the fitting is offset slightly, and won't seal against the caliper properly if you have it the other way. Tighten the banjo fitting onto the caliper end first.
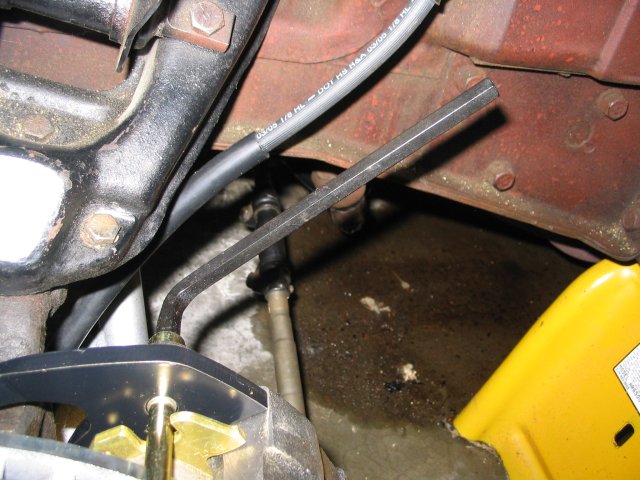
Next put the other end of the flex hose through the mounting tab on the inner fender, and put on the retaining clip.
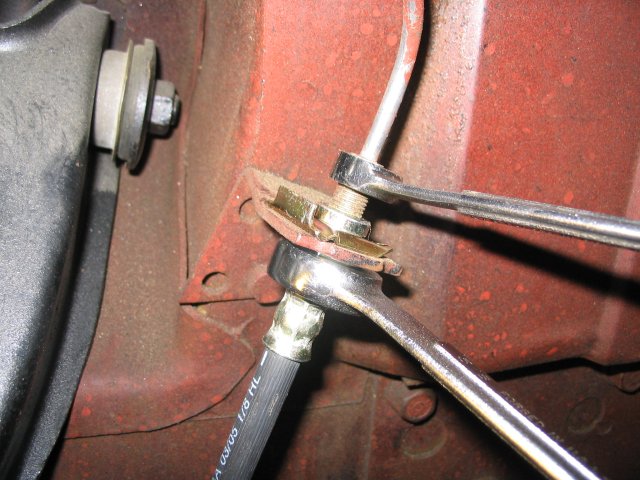
Finally, tighten the brake line onto the flex hose. Use two wrenches to avoid twisting the connection.
patman@bracketracer.com
Unless otherwise specified, all text and images on this page are © Copyright 2006 by Pat Mancuso.