CPP 64-67 Nova Stock Spindle Disc Brake Kit - CPP MC Install
This page describes the installation of Classic Performance Products' MCPV-1 master cylinder.
[WARNING/DISCLAIMER: use this information at your own risk, modifying automobile brake systems can lead to dangerous situations, always have a trained mechanic check your work, I take no responsibility for the results, you've been warned, you're on your own...]
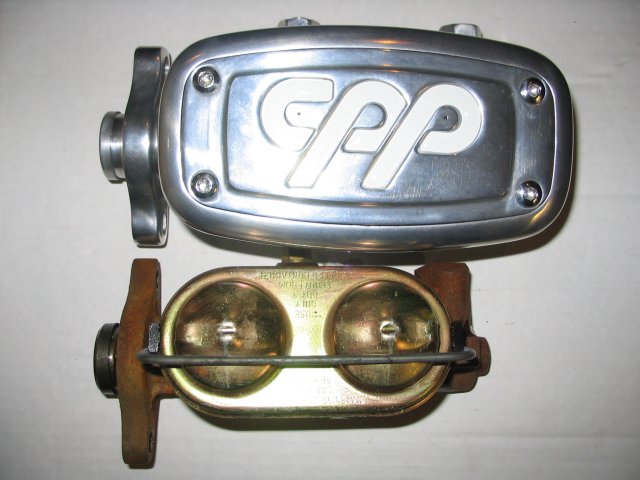
Just for starters, a size comparison of OEM 1967 Nova dual chamber master cylinder (MC) with CPP unit.
I did some measuring of the CPP MCPV-1 vs the dual chamber OEM one that's in the car now. The CPP one is actually not that much bigger than the OEM one:
| OEM MC | CPP MCPV-1 | |
| Overall length | 7 3/4" | 8 1/2" |
| Width @ mounting flange | 4 1/4" | 4 1/4" |
| Width @ body | 3 1/4" | 4" |
| Overall height | 5" | 5" |
| mount bolt c/l to lower edge of mounting flange | 1 1/4" | 1 1/4" |
| mount bolt c/l to lower edge of body | 1" | 1" |
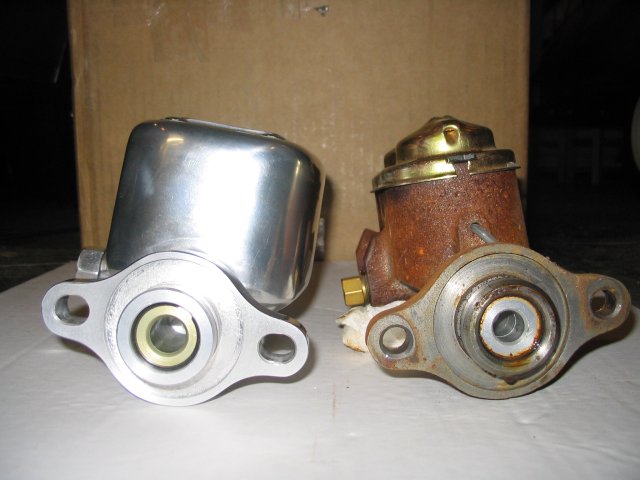
The underside clearance is identical, the main difference is that the MCPV-1 body part is wide for the entire length, whereas the OEM part is thin with bosses that stick out where the lines attach.
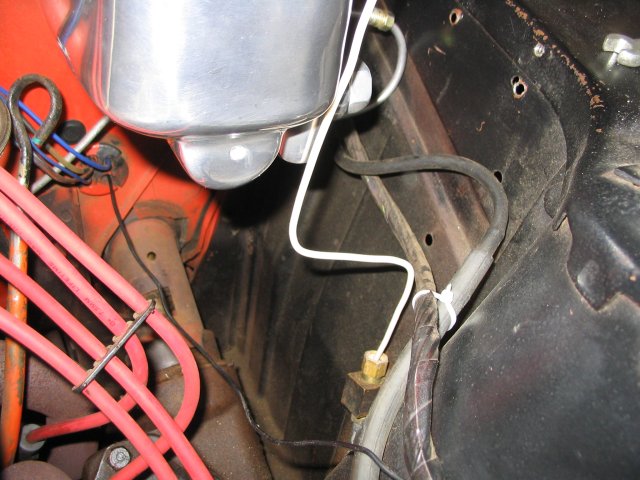
The other clerance-related difference is that the lines attach to the bottom of the CPP unit, so effectively you lose some clearance underneath because of the line routing. I'd call it an inch or two if you're good with a tubing bender, or you could use some 90" fittings to redirect them back where the OEM part has them.
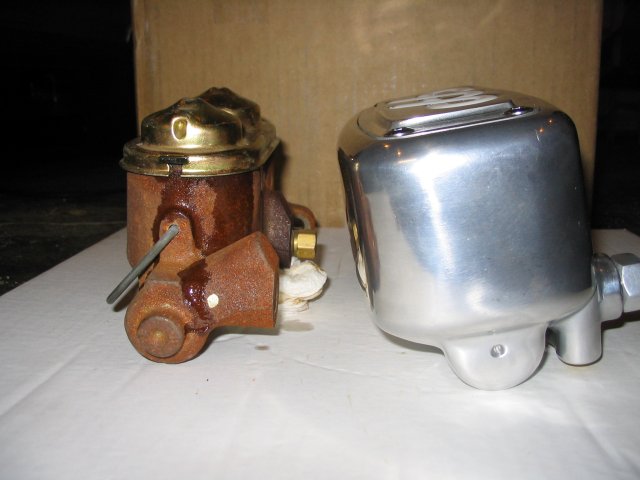
Note the rusty fluid on the pushrod side of the old MC. The corrosion had caused a leak.
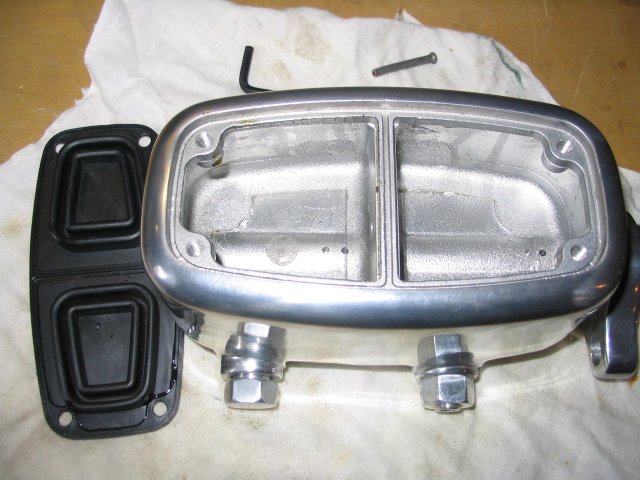
Here's what the inside looks like.
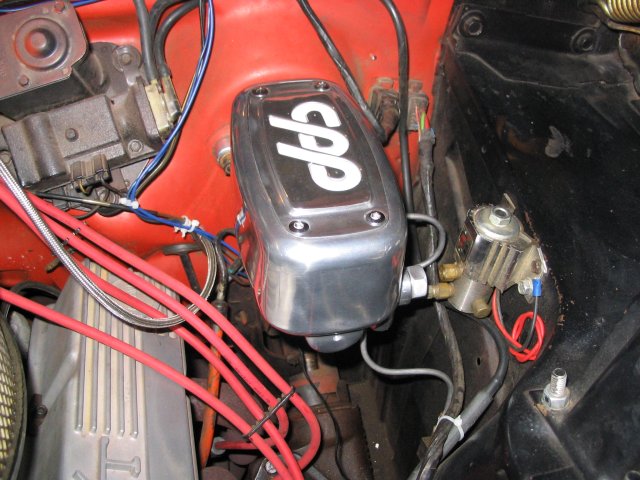
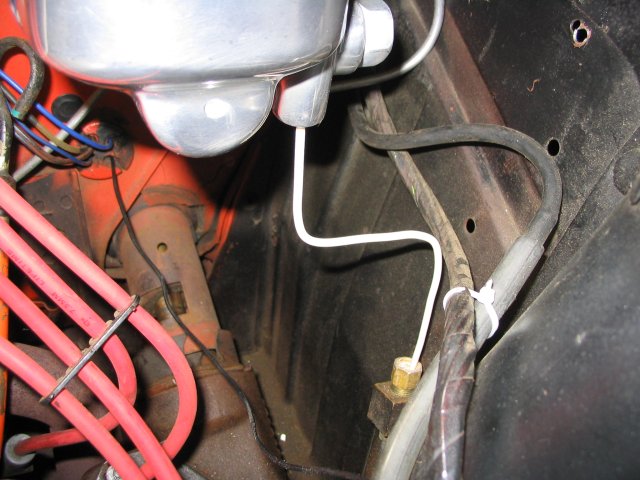
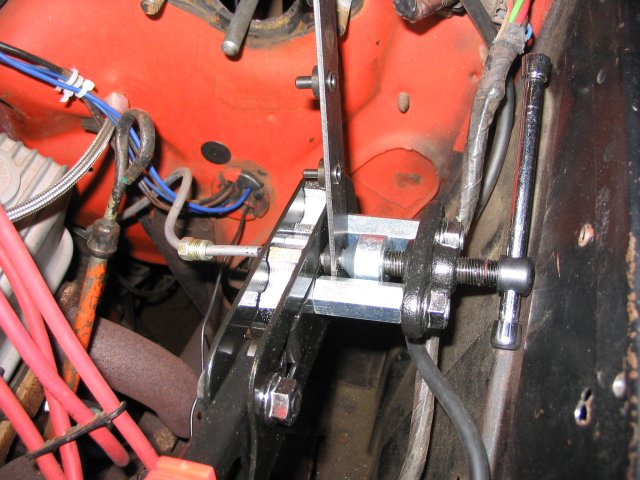
First test fit! The MCPV-1 installed temporarily to check clearance and to measure the changes needed to the brake lines
The underside clearance is nearly identical with the OEM unit. If you had a proportioning valve with the OEM setup (I didn't), that is a separate piece that would actually hang down lower than the CPP unit does. If you take that into consideration, the MCPV-1 takes up less room than the OEM setup.
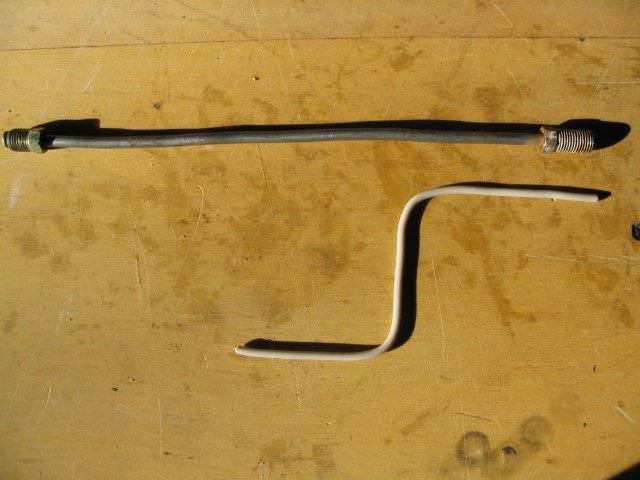
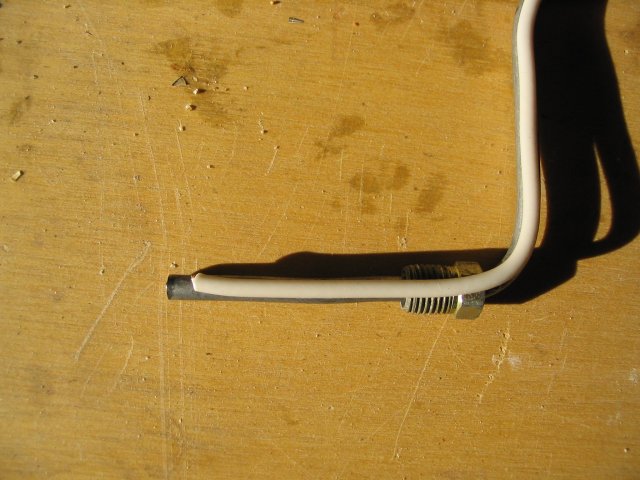
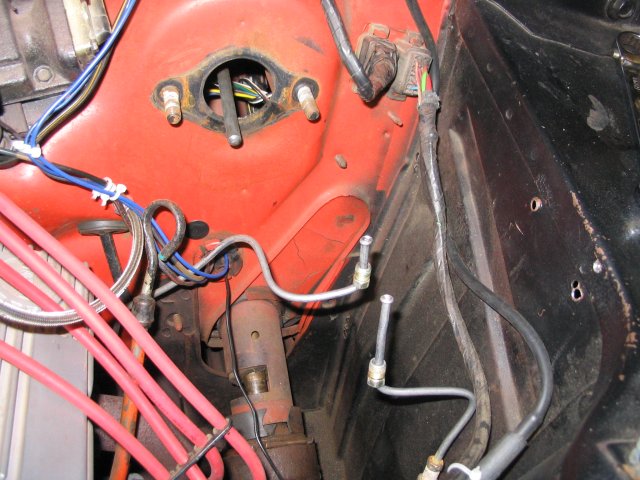
With the old front brake line between the MC and the junction block removed, I used a piece of copper wire from a scrap of romex house wiring to make a pattern. It's easy to bend the wire into the shape you want.
Here the wire is cut to length to fit into the MC. The pattern is done.
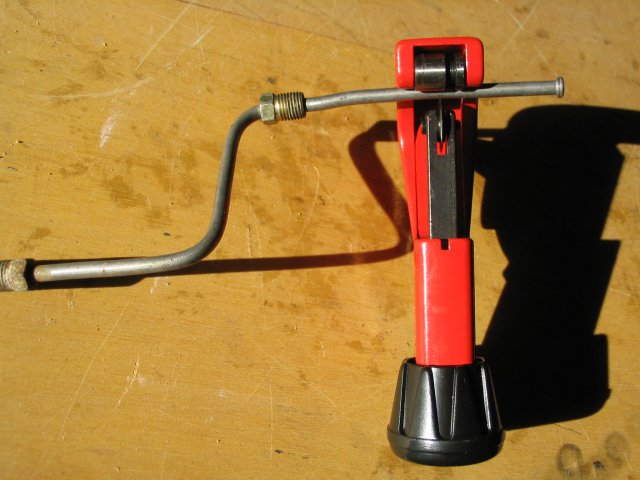
Take the pattern to the workbench, and then bend the tubing to match
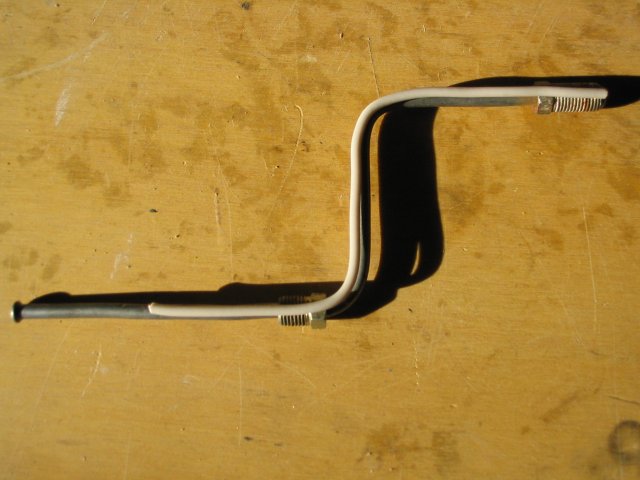
Once the tubing is bent to the right shape...
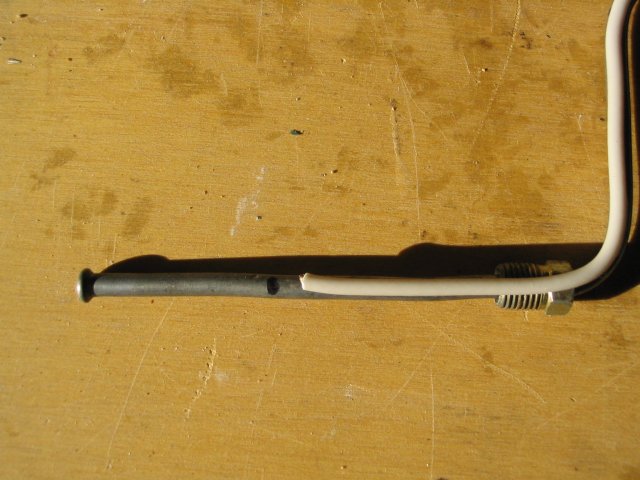
...mark the tubing to be cut. Leave a little extra to form the new flare on the end of the tube.
Use a tubing cutter to shorten the tubing to the correct length.
Double check with your pattern
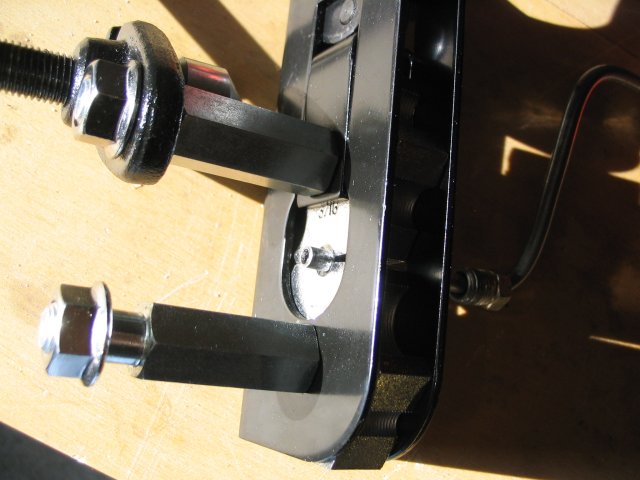
Put the tubing in your flaring tool. MAKE SURE THE FLARE NUT IS ON THE TUBING! You can't put it on after the flare has been made. The correct amount of tubing to have showing is indicated by the thickness of the heel of the die for the tubing size.
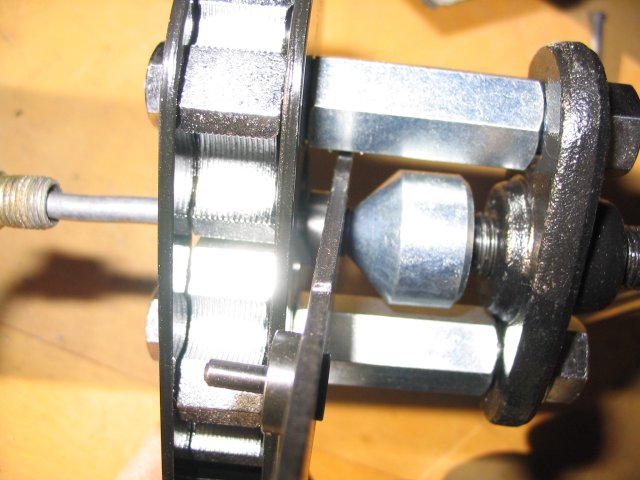
Put the flare die in the end of the tube and tighten to form the first part of the flare
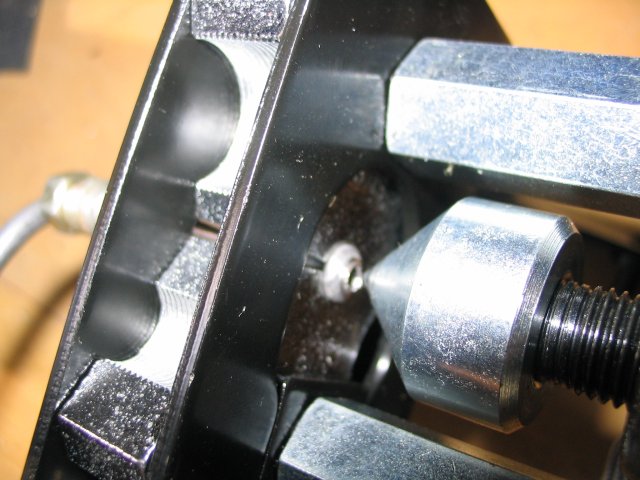
First part formed, remove the die and form the second part of the flare by applying pressure without the die.
All done! Check with the pattern again.
I removed the MCPV-1 again and modified the existing brake line while it was still on the car. A tight squeeze, but I got it done.
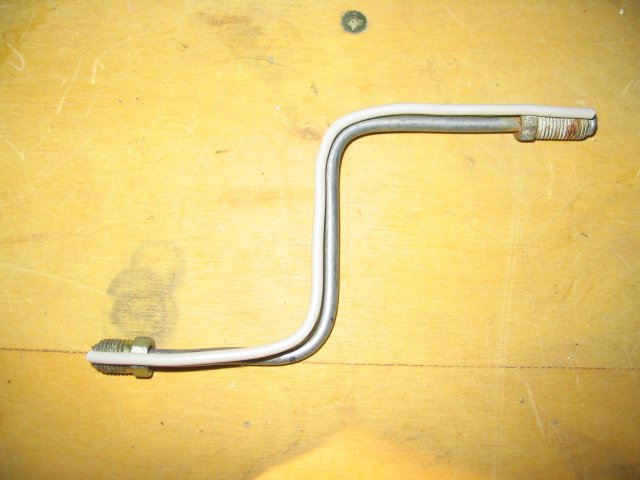
Both brake lines ready to go.
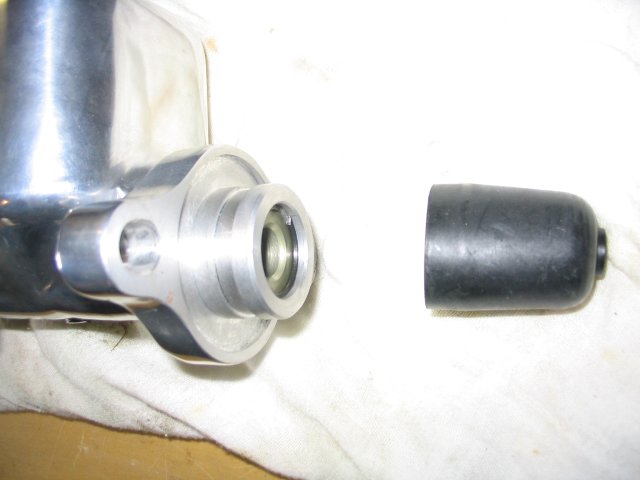
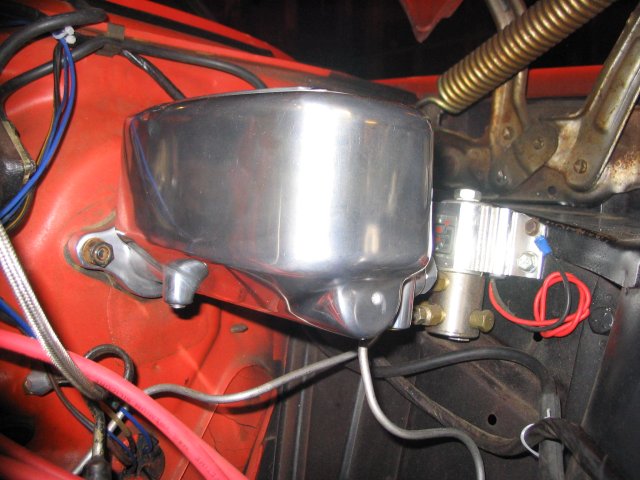
The rubber cover supplied with the MCPV-1 needs to be installed on the pushrod side.
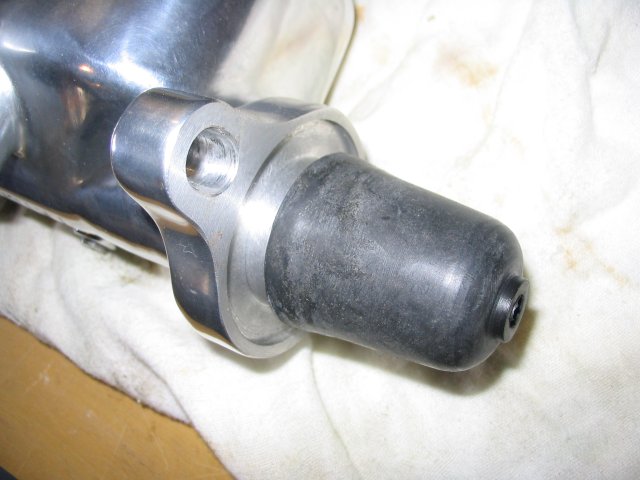
Make sure it's firmly seated on the lip
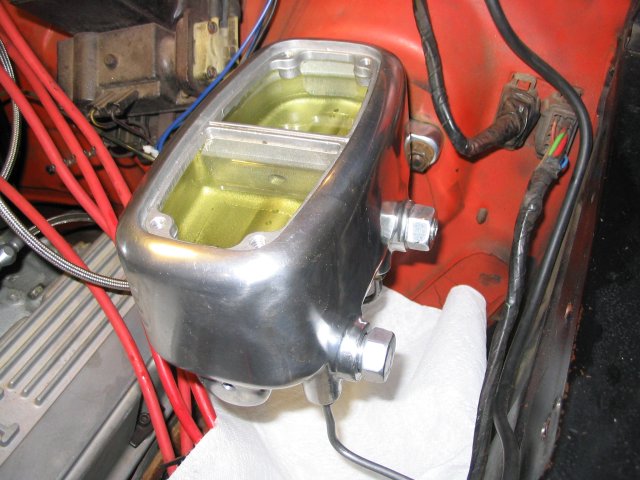
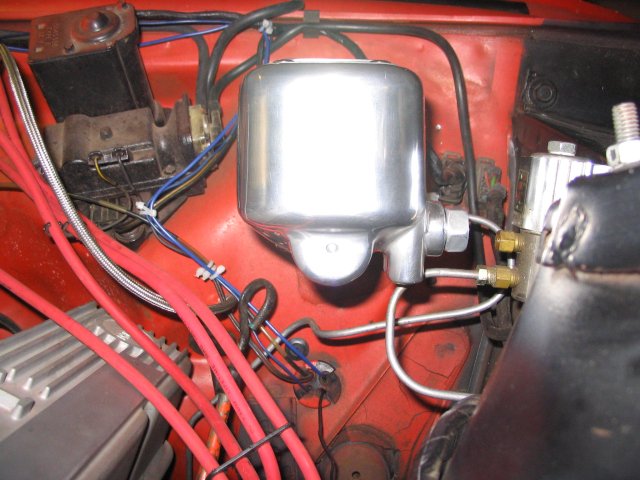
Mounted on the firewall, with both brake lines attached, and filled with fresh DOT3 brake fluid.
patman@bracketracer.com
Unless otherwise specified, all text and images on this page are © Copyright 2006 by Pat Mancuso.